#android #open-source
Continuous Integration Project Android On Gitlab
Published Sep 27, 2016 by Adi Andrea

A few days ago, I was casually looking at the source code of the Google I/O application on GitHub , in the commit list there was a build status that used Travis CI . Travis CI is very integrated with GitHub and has been widely used, so what about Gitlab?
Previously I had never used CI (Continuous Integration), I didn’t even know what it actually was and what its function was. So, after exploring CI, I finally got to know quite a bit, quite a bit, not really know.
What is Continuous Integration?
Continuous Integration is a software development practice where members of a team integrate their work frequently, usually each person integrates at least daily - leading to multiple integrations per day. Each integration is verified by an automated build (including test) to detect integration errors as quickly as possible. Many teams find that this approach leads to significantly reduced integration problems and allows a team to develop cohesive software more rapidly. - Martin Fowler
So in short, CI is an activity in software development that requires all developers to integrate their work results into a repo and from that repo, verification will be carried out with an automatic build, so that if there is an error, it will be known early.
Why use Gitlab?
Gitlab is one of the free Git storage services like GitHub. One of its advantages is that we can create private repos for free and as many as possible. So I tend to use Gitlab for projects whose sources should not be known to the public. And of course because Gitlab has a CI system that can be used directly in each repo, the details can be seen here .
Start!
Okay, let’s get started, first we setup the repository locally and add the remote to the repo in Gitlab.
Create a file .gitlab-ci.yml in the root of the Android project, this file is a build configuration file that will be executed by Gitlab CI.
image: java:openjdk-8-jdk

before_script:
  - apt-get --quiet update --yes
  - apt-get --quiet install --yes wget tar unzip lib32stdc++6 lib32z1
  - wget --quiet --output-document=android-sdk.tgz https://dl.google.com/android/android-sdk_r24.4.1-linux.tgz
  - tar --extract --gzip --file=android-sdk.tgz
  - echo y | android-sdk-linux/tools/android --silent update sdk --no-ui --all --filter android-24
  - echo y | android-sdk-linux/tools/android --silent update sdk --no-ui --all --filter platform-tools
  - echo y | android-sdk-linux/tools/android --silent update sdk --no-ui --all --filter build-tools-24.0.2
  - echo y | android-sdk-linux/tools/android --silent update sdk --no-ui --all --filter extra-android-m2repository
  - echo y | android-sdk-linux/tools/android --silent update sdk --no-ui --all --filter extra-google-google_play_services
  - echo y | android-sdk-linux/tools/android --silent update sdk --no-ui --all --filter extra-google-m2repository
  - export ANDROID_HOME=$PWD/android-sdk-linux
  - chmod +x ./gradlew

build:
  script:
    - ./gradlew assembleDebug
  artifacts:
    paths:
    - app/build/outputs/
A little explanation about the contents of this file,
image: java:openjdk-8-jdkused to define the Docker image used, here I use OpenJDK 8.- Next,
before_scriptwe update some dependencies with the commandsapt-getandwget. - The downloaded Android SDK files will be extracted and installed one by one as needed.
export ANDROID_HOME=$PWD/android-sdk-linuxwill create environment variablesANDROID_HOME.chmod +x ./gradlewto make the gradle wrapper script executable.- In this
scriptblock, the Gradle command will be executed, we can fill it in as needed. - In the block
pathsdescribes the output of the build results that have been carried out.
Do add, commit, and push file .gitlab-ci.yml. Gitlab will automatically do a build that we can see the progress in the project pipeline section.

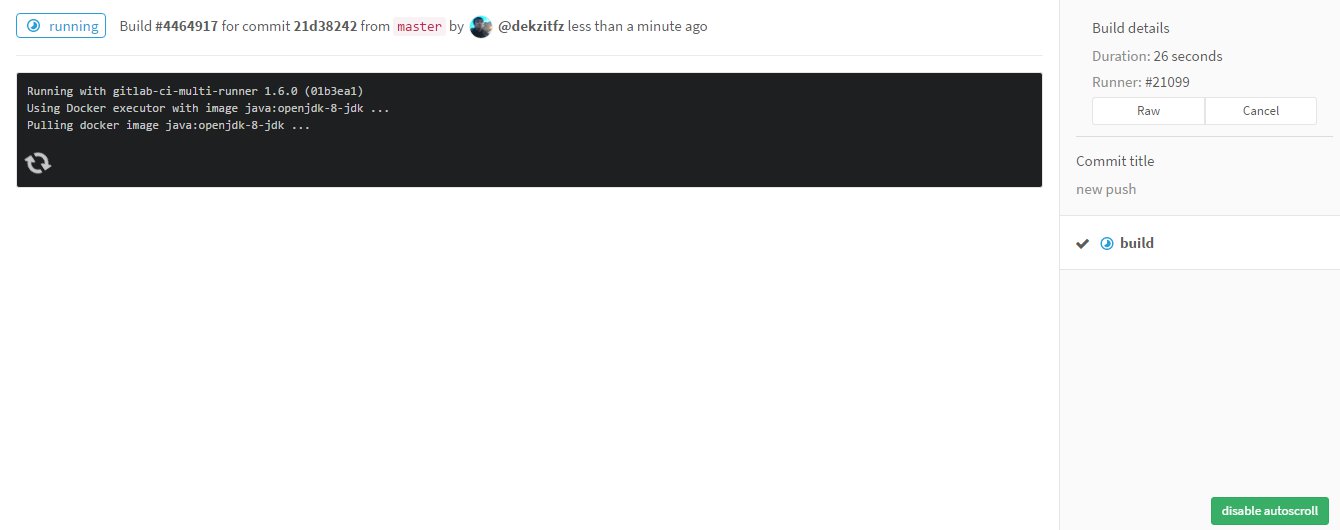
We can also see the build log that is running.

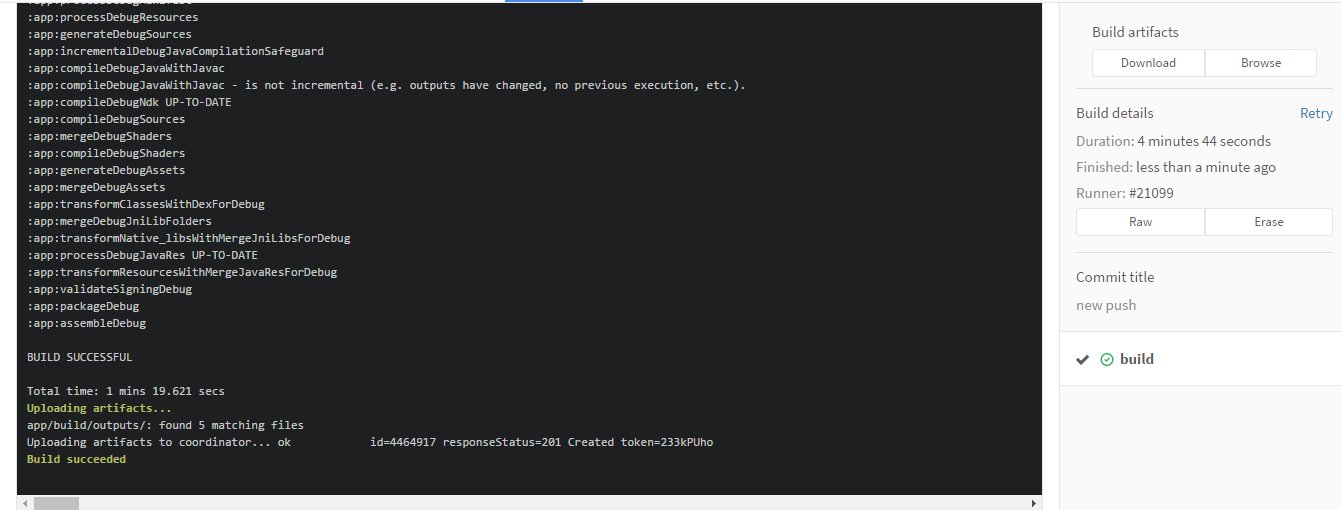
This is the display if the build is successful. The build results can also be downloaded directly.

Quite simple and practical, right? example repo can be seen here.
Reference
- http://www.greysonparrelli.com/post/setting-up-android-builds-in-gitlab-ci-using-shared-runners/
- http://blog.goddchen.de/2016/04/configuration-for-gitlab-ci-android-projects/
- http://software.endy.muhardin.com/manajemen/continuous-integration/
© 2024, Adi Andrea | Pudhina Fresh theme for Jekyll.